
B R A C K E T S I N S T R U C T I O N S
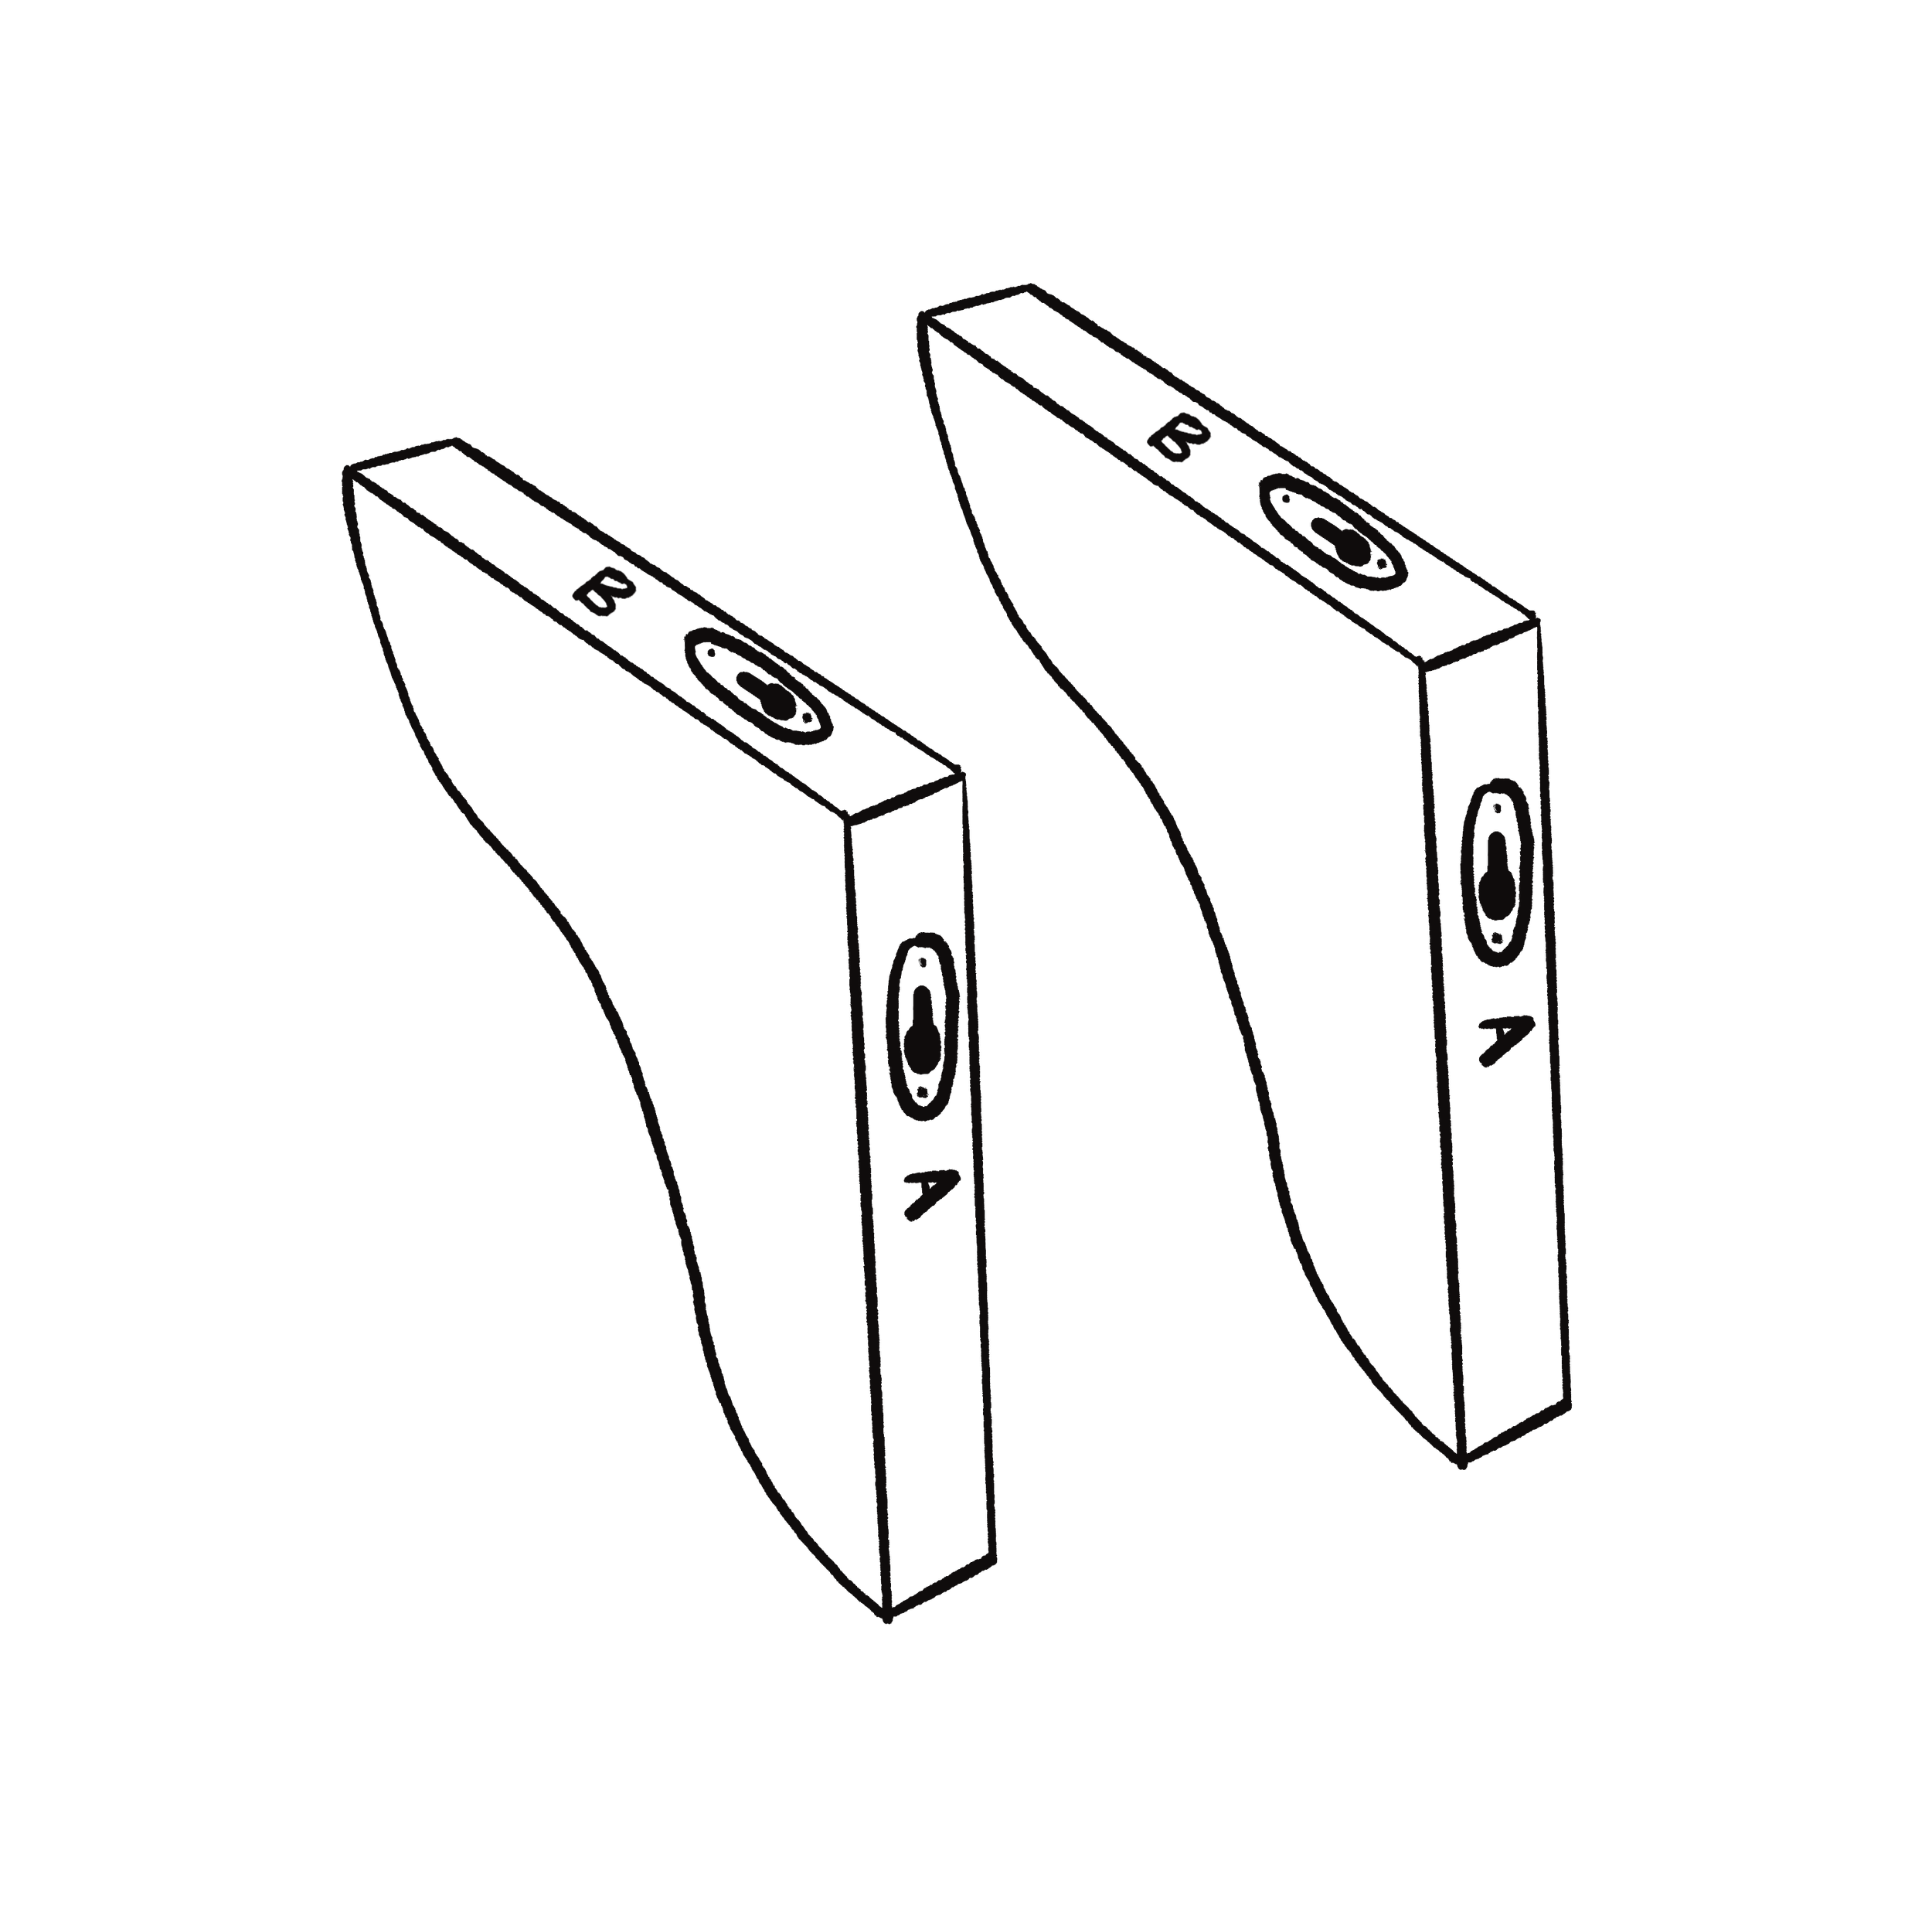
1) Each of our brackets have 2 keyhole fixings- A and B.
A is for the wall, B is for attaching to the shelf, it is important that they don't get mixed up!

2) Decide how far apart you want your brackets. Mark on the underside of the shelf one point for each bracket- 65mm from the back edge of the shelf.
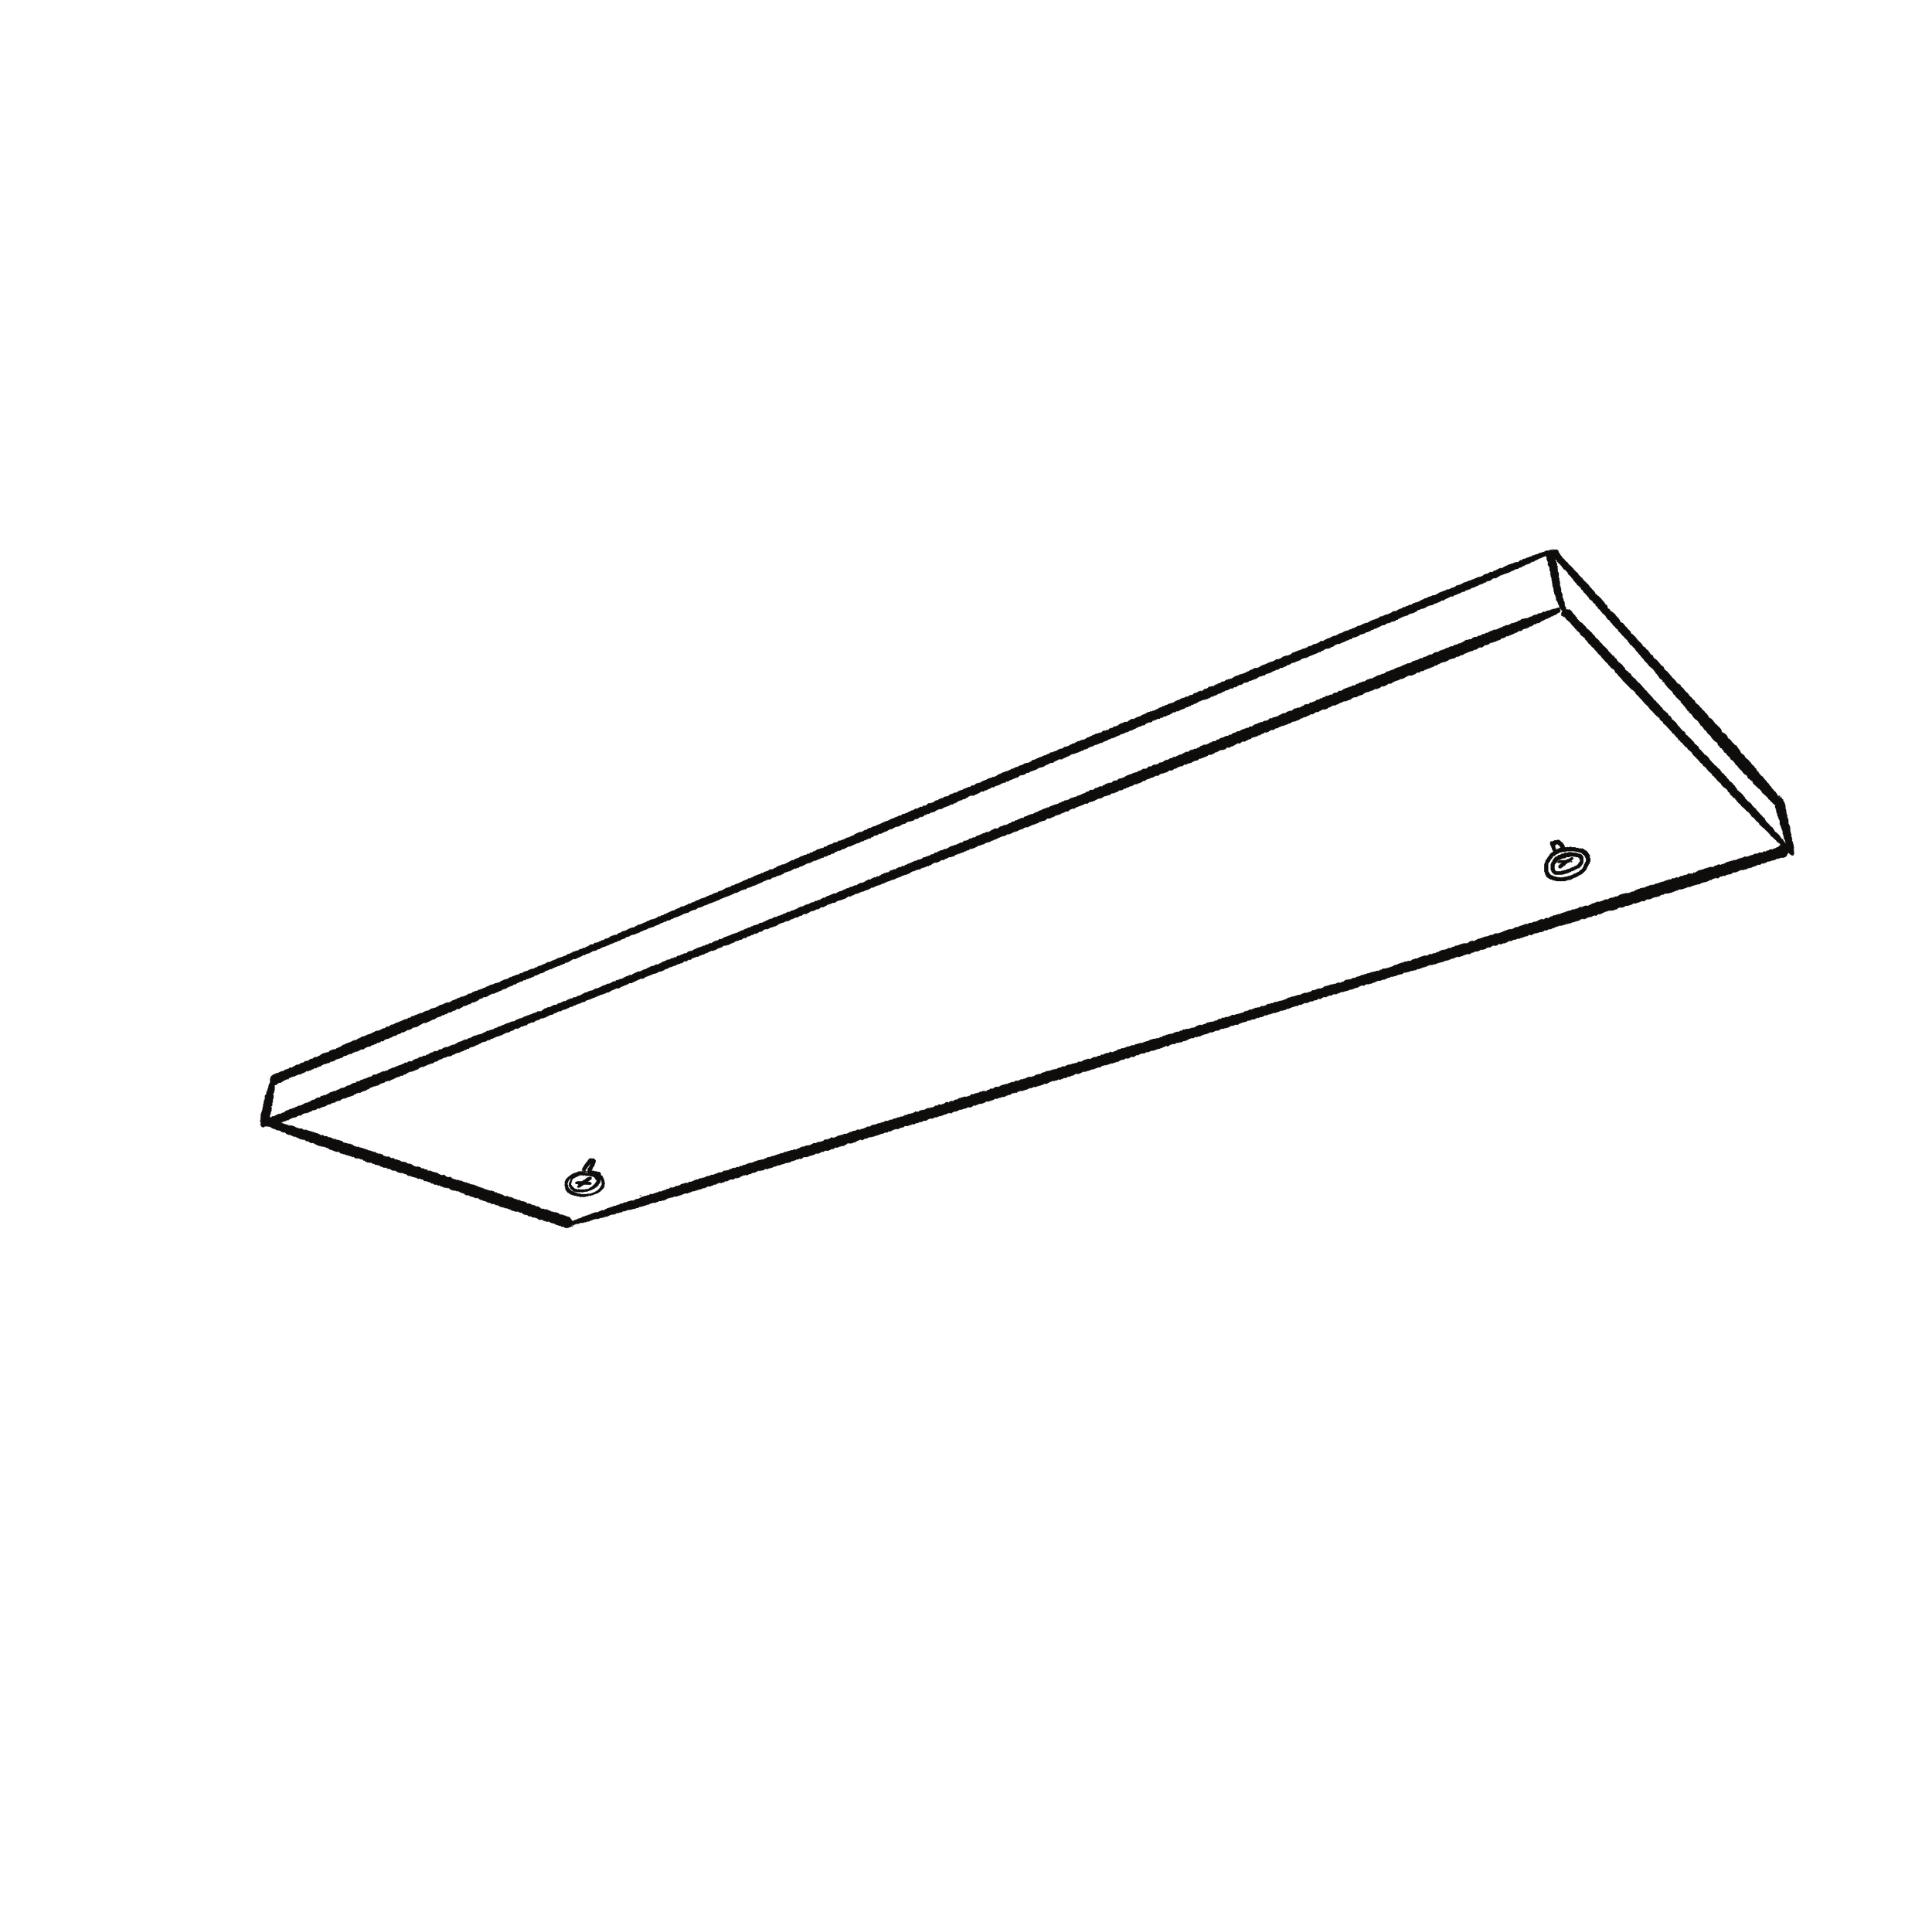
3) Drill pilot holes and screw in the screws, leaving them sticking out far enough to feed into the keyhole of side B of the bracket, but not so far that it is a loose fit.

4) Hold the shelf up to the wall and work out where you want to put it. When you’re happy, measure 50mm from the underside of the shelf and mark where you want the brackets along that line.
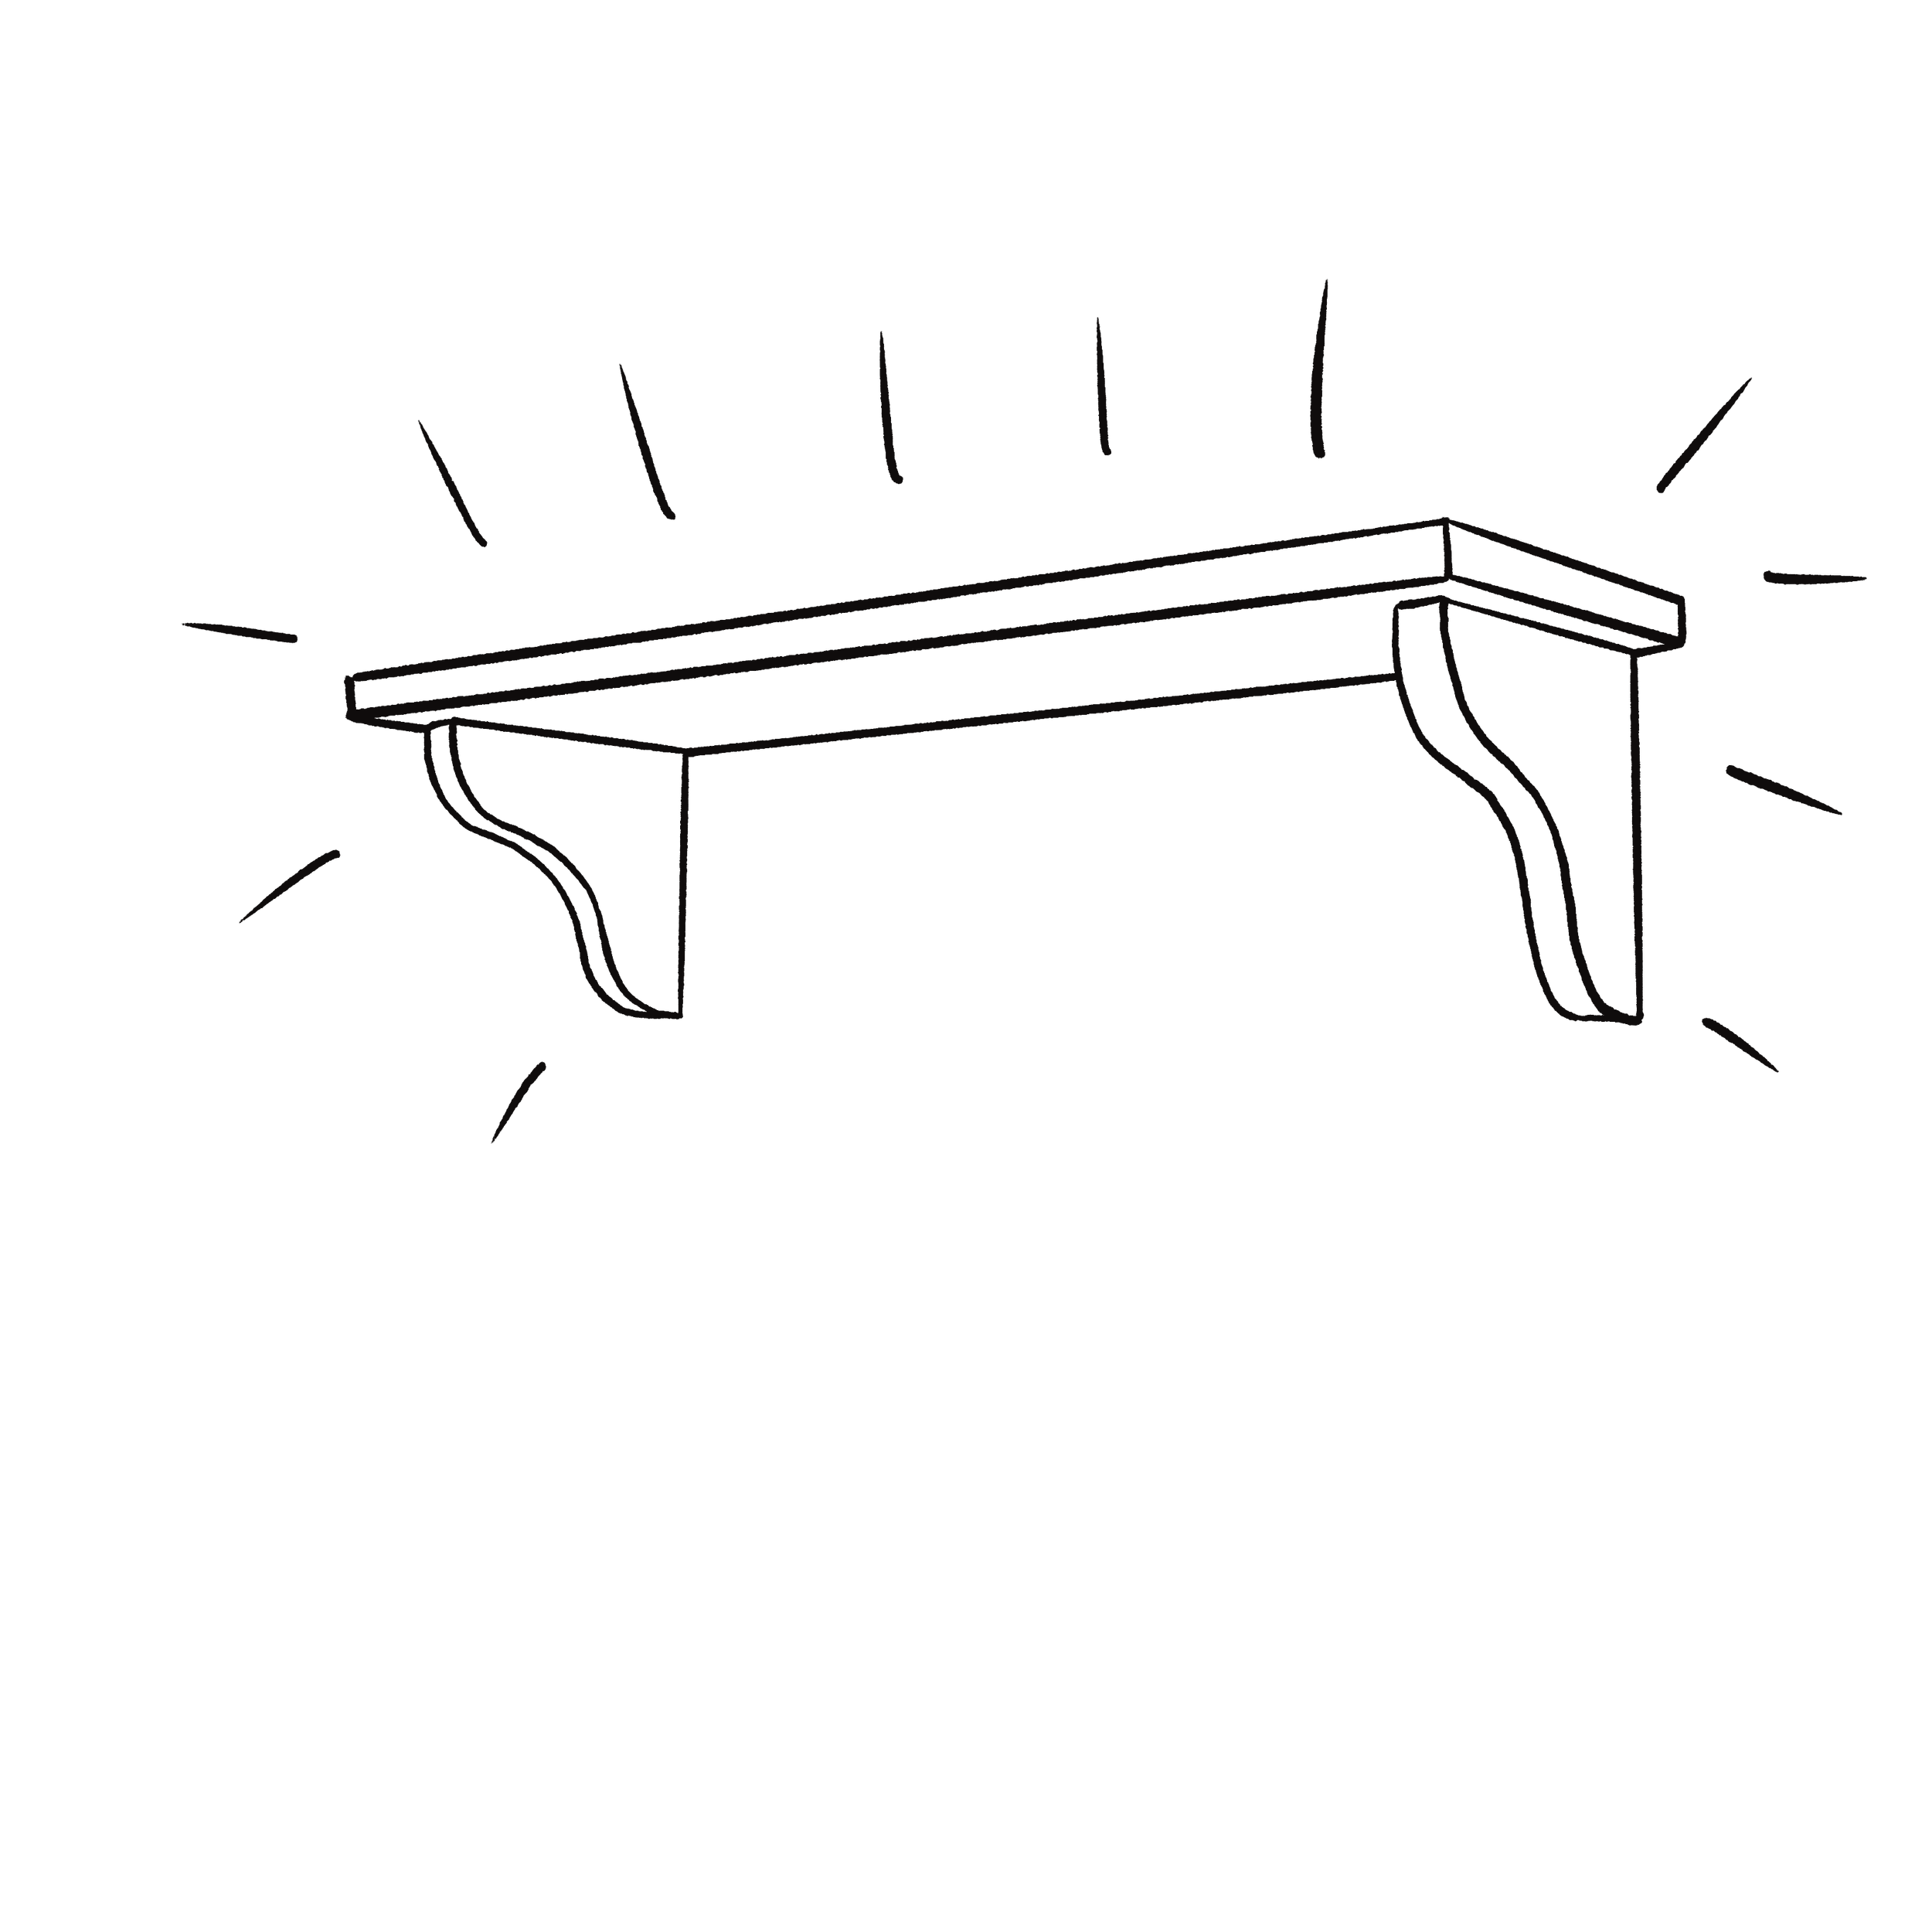
6) Screw in suitable wall fixings, leaving the screws slightly sticking out again. Slide the brackets (with shelf) onto the screws, stand back and admire your new shelf!
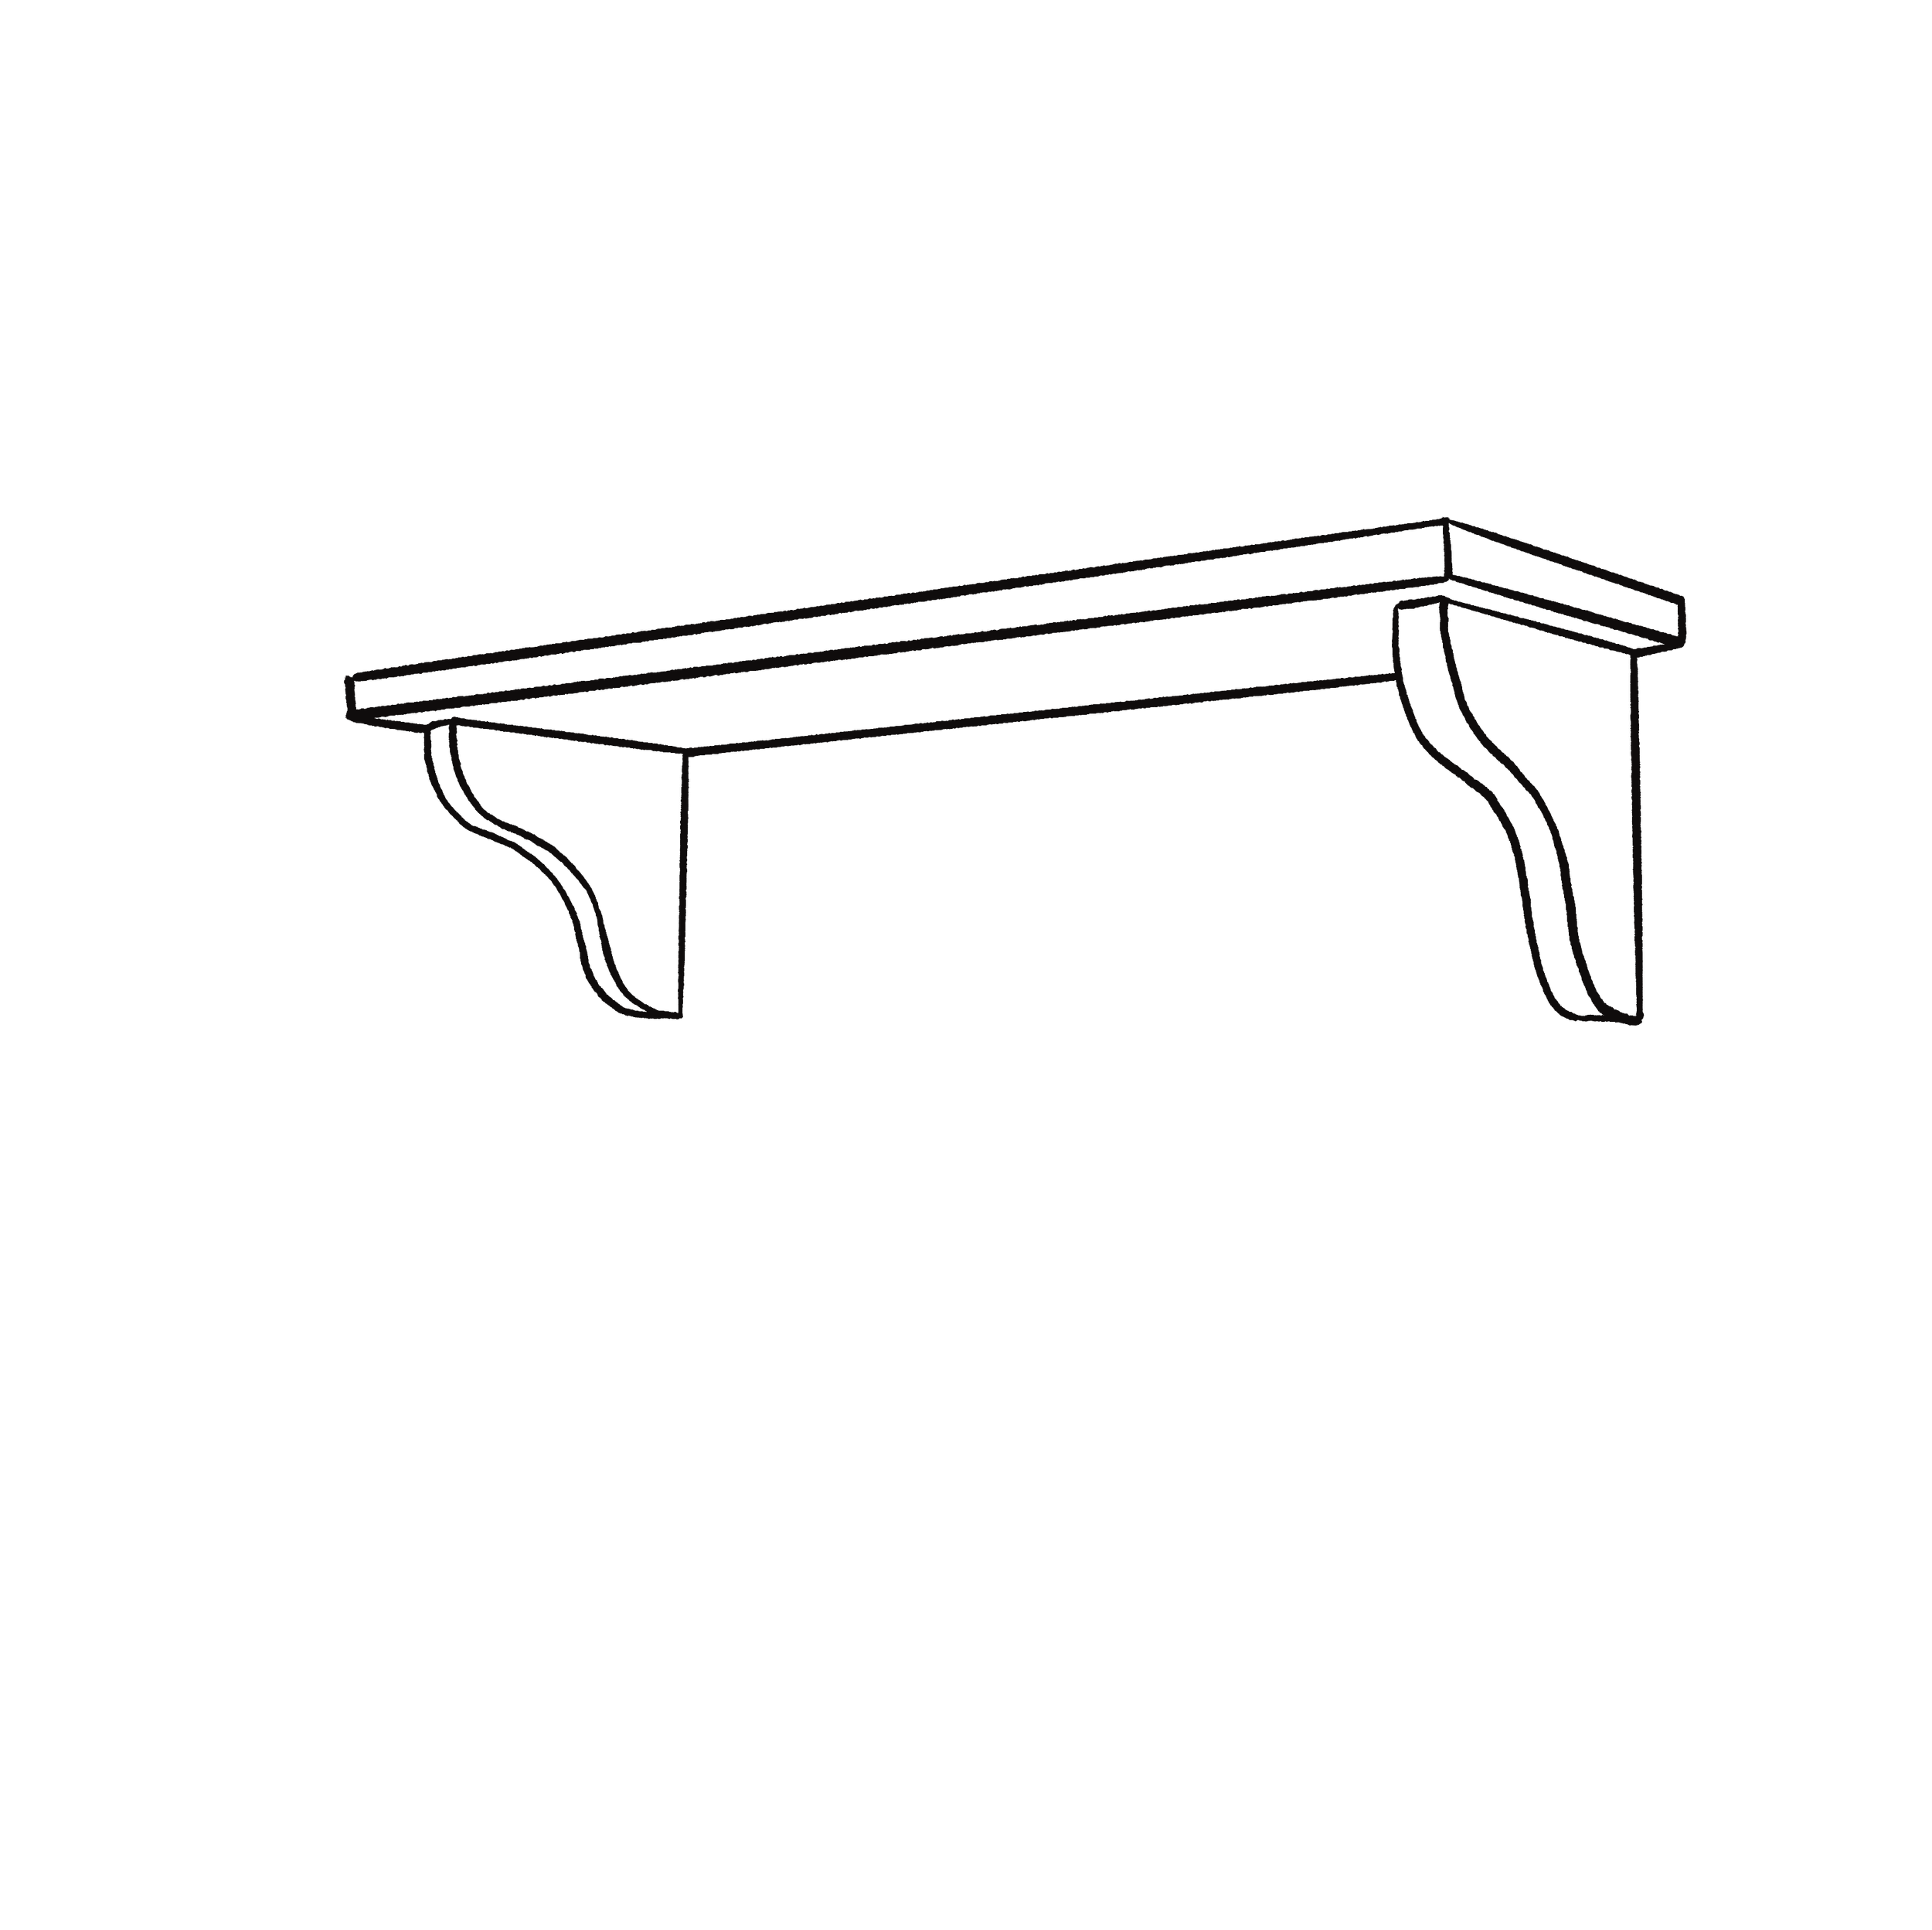
5) Slide the brackets onto the shelf so that it’s a nice, tight fit.